Post
The dungeon becomes important from the late game! King Arthur, Fodarg, and Ascellus Guide
'King Arthur' Late-Game Growth Core
Two Types of Control Dungeons
Which Hero is Advantageous?
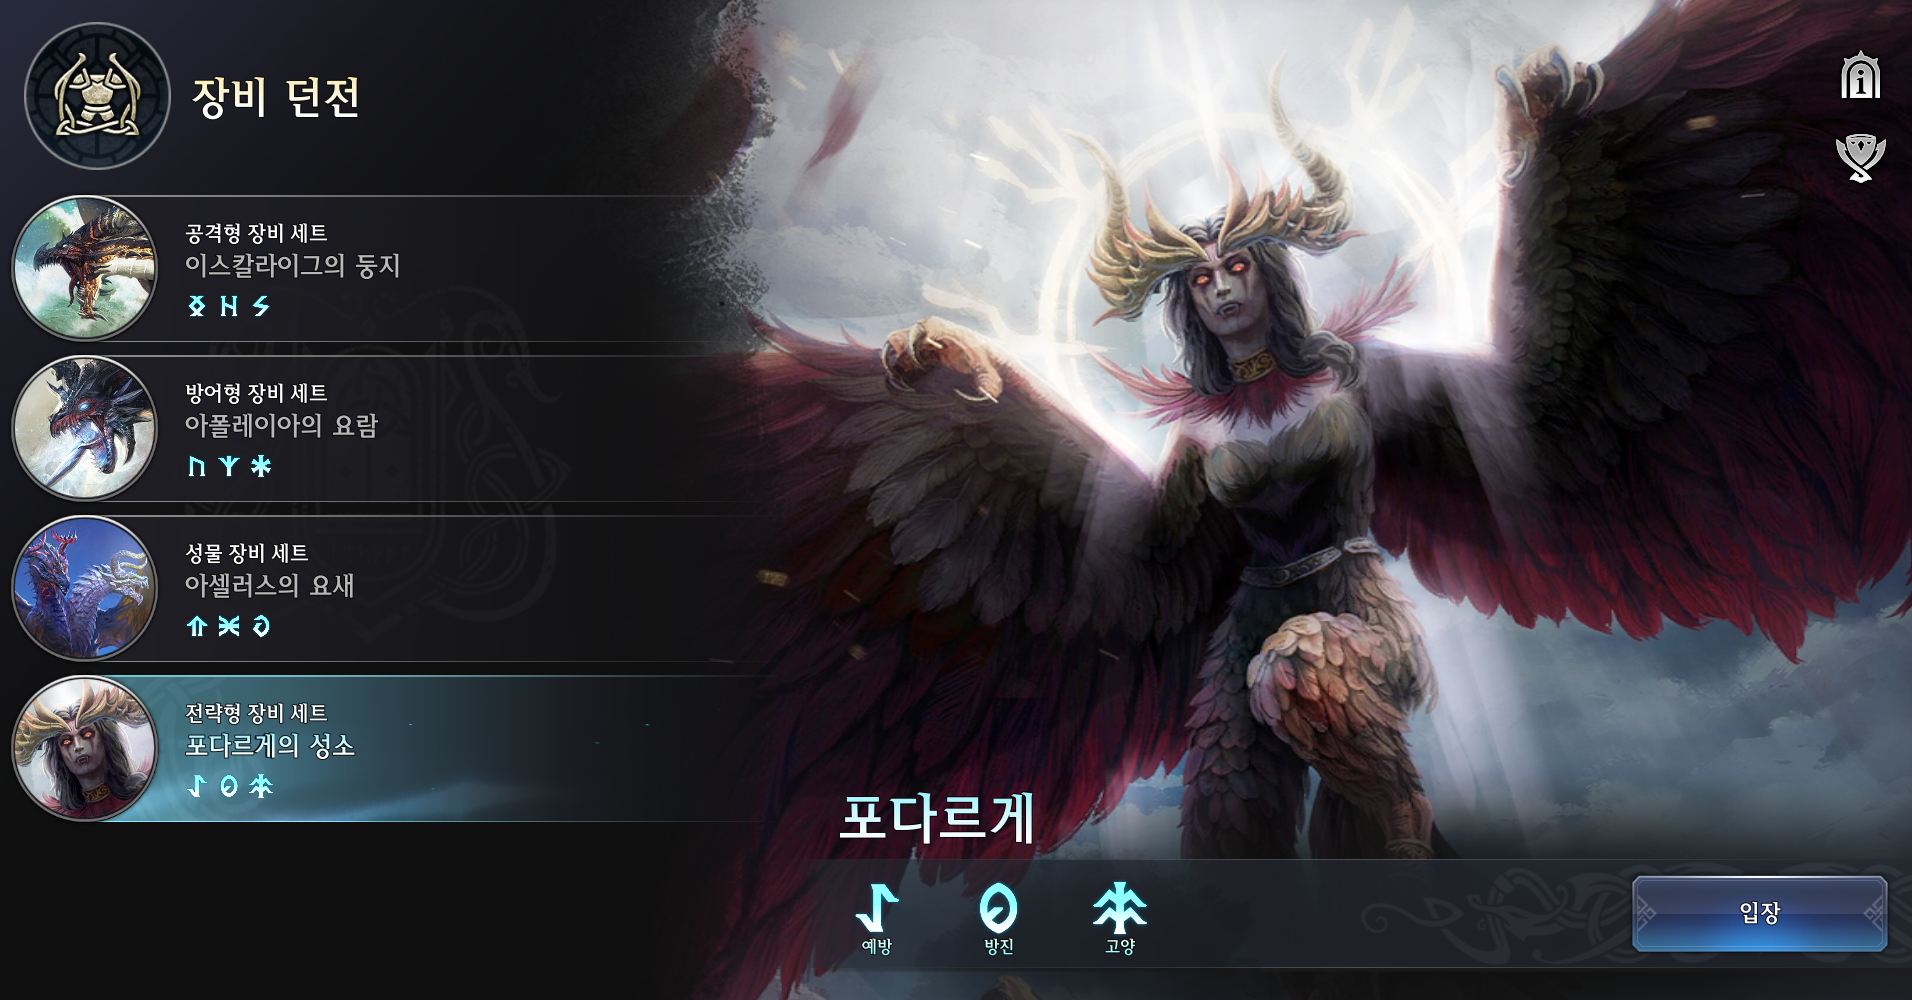
Manage the Attack Gauge! 'Fodargge' Guide
Fodargge Guide in Three Lines
1. Boss HP decreases when lower monsters are defeated with AoE damage
2. Efficiency increases with persistent damage!
3. Status ailment removal is useful!
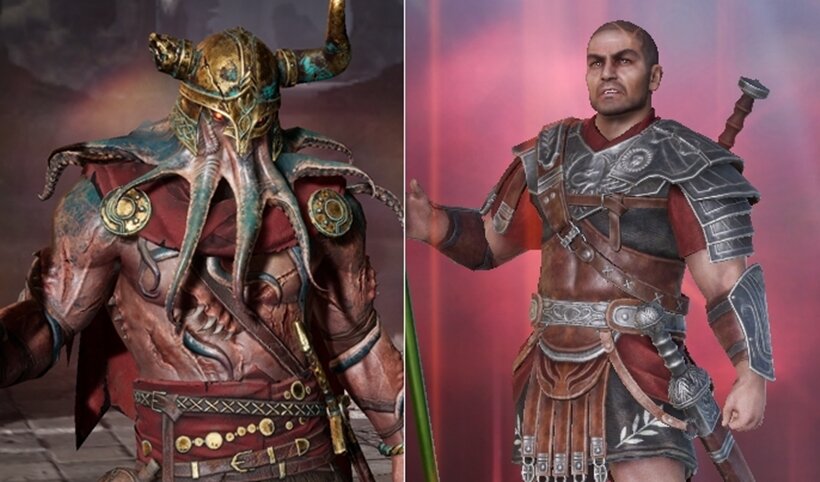
In King Arthur: Legend Rise, 'Control Zones' are important dungeons where you can obtain character equipment. However, the 4th dungeon, 'Fodargge,' is relatively less important and not often challenged. This is because the equipment sets of Fodargge Sanctuary—Prevention, Defense, and Uplift—are for PVP or specific character builds. Especially since it's a high-difficulty dungeon unlocked in the late game.
However, the Uplift 4-set, which increases attack power but reduces HP when using skills, can boast much stronger damage than most dealer relics if support characters are used properly. If you have a hero like 'Charlotte' who can utilize HP reduction as a trigger, it's a must-clear dungeon.
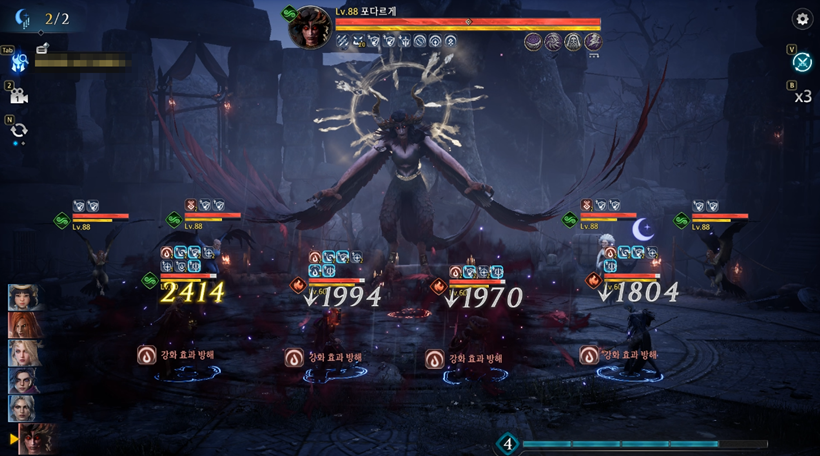
Fodargge is a boss with unique mechanics different from other bosses in King Arthur. It's more efficient to defeat the harpies summoned by the boss than to directly reduce the boss's HP. In other words, heroes with AoE damage are advantageous. Defensive stats are important to withstand the damage from both the boss and the harpies, and if you can endure, you can clear it with consistent AoE damage.
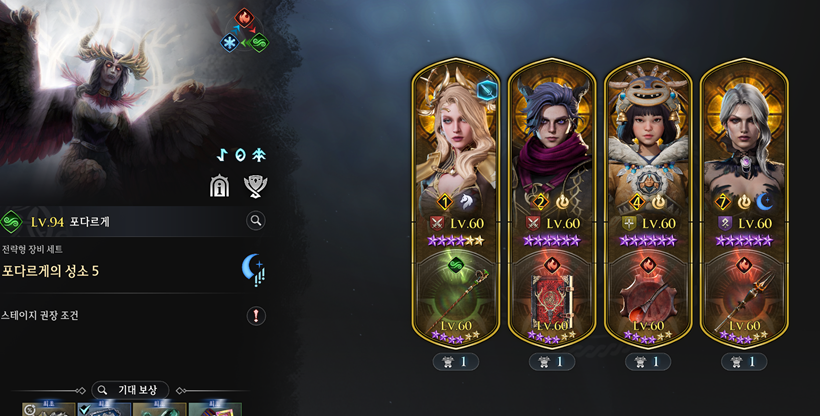
- Recommended Fodargge Team Compositions?
Fodargge depends on how well your fire heroes are trained. Since the universal supporter 'Morgan' is fire-based, support is sufficient, but the role of the main dealer is crucial. The best is, of course, the fire relic 'Ywain,' which also has excellent AoE attacks. It was distributed in an event, so if you have it, it's worth using as your main force.
If you don't have Fire Ywain, you can use a character with a fire relic among the always-available heroes. A prime example is Clarisin. Her second skill is AoE, and she can gain a self-buff and deal significant damage with her 3rd skill. Next, Lancelot is an excellent hero. He's not an offensive character, but Fodargge's harpies are vulnerable to persistent damage, so he can cover the lack of damage with burns.
Next is Charlotte, whose basic relic isn't fire, but she's useful in Fodargge. All of Charlotte's skills are AoE attacks, and her damage output is excellent. If you use support characters to recover her HP, she can deal the highest damage as the best AoE dealer.
What's important in high-level clears is ultimately the amount of healing. The boss accumulates annoying debuffs such as buff removal and interference, and attacks with harpies, so if your defensive stats are insufficient, you can be wiped out in an instant. It's good to organize useful support/defense characters such as Nika and Brannan to take care of survivability.

Healing Interference is Essential! Acelas Guide
Acelas Guide in Three Lines
1. The boss reverses attack speed and reduces the attack gauge
2. Healing mechanics exist, so healing interference is essential
3. Immunity and attack gauge increase effects are useful
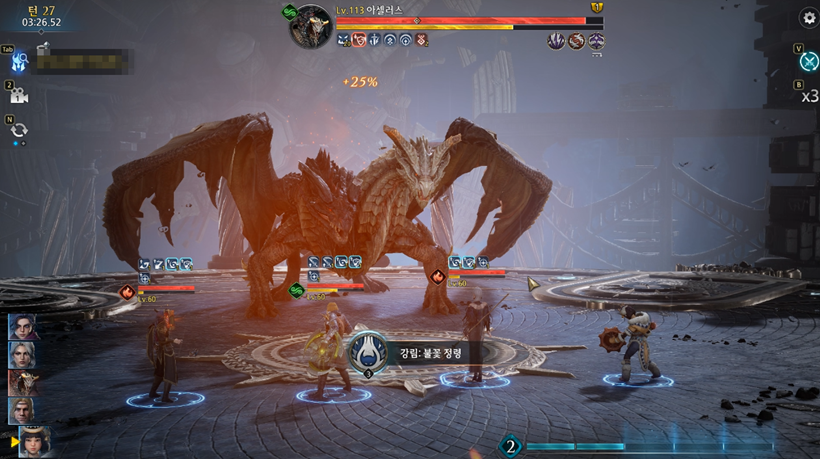
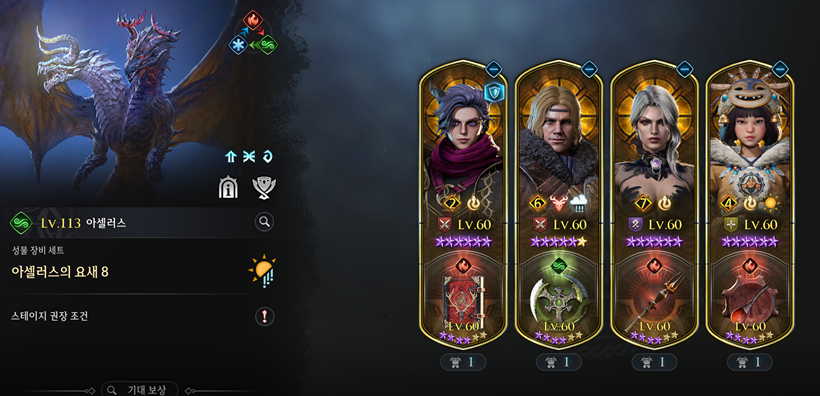
Acelas' Fortress is where you can obtain materials and experience needed to craft relics. It's a dungeon that becomes important from the time you finish hero awakening. Similar to Fodargge's Sanctuary, it can be said that it is a dungeon that becomes more important as training increases.
The boss Acelas is characterized by mechanics related to attack speed. Attack speed reversal is applied, reversing the party order, and the attack gauge is continuously reduced using the 'Aging' debuff. If you have debuff immunity, you can easily defeat the boss by taking consecutive turns, but if you get hit by Aging, the boss will attack consecutively, wiping out the party in an instant. Also, in phase 3, the boss recovers health through Time Warp. Healing interference effects are almost essential.
- How to Clear Acelas?
Acelas is a boss consisting of a total of 3 phases, and the healing and AoE attacks in the last phase are challenging. During the play, it continuously applies attack speed reversal and attack gauge reduction, dealing significant damage with consecutive attacks in phase 3 and inducing a party wipe. Because of the healing interference mechanic, the value of general healing support characters is diminished.
There are two main ways to clear it. You can endure without receiving buffs by using Aine and Guinevere's weakening immunity, or you can recover the reduced attack speed with Sergius, etc. A strategy of pushing back Acelas's turn using Morgan, Tristan, etc., is also effective.
Lastly, healing interference is necessary, and since Morgan has it by default, organizing a fire Morgan can perform three roles: healing interference, attack gauge management, and weakness targeting. Brannan is also useful. Since it consists of 3 phases, Brannan's shield is replenished 3 times, and it's easy to block the boss's big attacks with self-healing defense support and barriers.
Webzine InvenReporter Choi Min-ho
2025-04-22